So I figured out a couple of cool tricks that I thought I would share to increase your speed working with Outlook 2007. (Some tricks might work for 2003 but I did not test them so it’s at your own risk/disappointment)
1. Change Colour of Outlook
By default it is a blue colour. Some like it, some don’t. But you can change it to black / silver / blue if you would like and the entire Office Suite 2007 changes with it to match. Kind of slick.
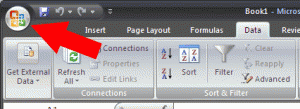
Ironically, this process starts by going to Excel or one of the other Office programs which has the round button in the upper left. Click the circle in the upper right corner.
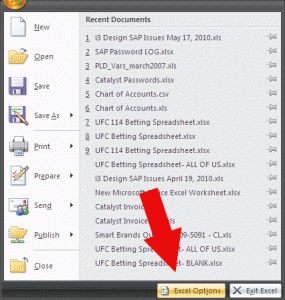
Click ‘Excel Options’
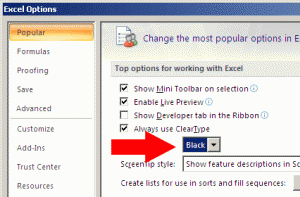
Change your colour.
.
2. Get rid of that damned Instant Search bar prompt!
This bar is constantly there, if you click on it it launches a downloader to get a Microsoft file which installs some resource stealing waste of time application which you don’t need.
To disable this prompt. Navigate in Outlook to Tools >> Options, click on the ‘Other’ tab. On the Other tab click the ‘Advanced Options’ button. On this page you will see a checkbox for disabling the prompts!
.
3. Fix the reading message listings so they don’t waste so much space
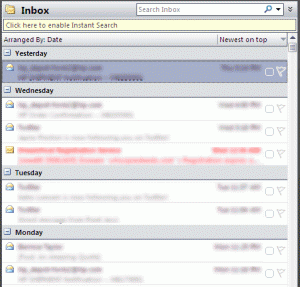
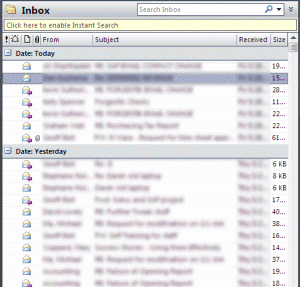
By default if you are using a reading pane your message list will look like this. Taking up double the amount of space. One line for name, one for subject. I don’t really like that since I get a lot of email (I wish my email box looked empty like the one below…)
It is much nicer to have a single line view so you can see everything at once.
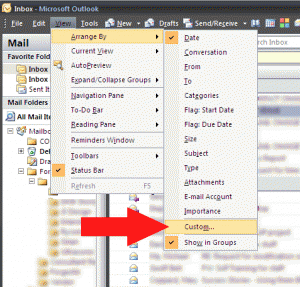
In order to do this you would navigate to View >> Arrange By >> Custom.
Then from there you want to select ‘Other Settings…’
Then you want to look at the bottom of the next menu. Uncheck ‘Use compact layout in widths smaller than’ box and then below you should see ‘Always use single-line layout.
You can then push ok and you will be back on the Customize View Messages box where we selected ‘Other Settings’ and from here you can click ‘Fields…’ to add/remove different columns you don’t want.
***Another great trick here suggested by Stanley Lee (his blog here).
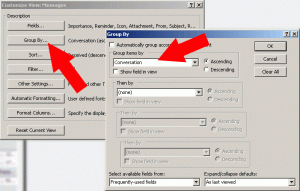
If you select View >> Arrange By >> Custom then select ‘Group By.’ Then uncheck ‘Automatically group according to arrangement’ and select ‘ conversations in the dropdown.
Beautiful thing about doing it this way is you can quickly see the most relevant messages grouped together in threads so you don’t have to look back to find important emails. Then when the thread is closed you can just collapse the group and it is reduced to one line, leaving only outstanding items visible.
Great suggestion, thanks again Stanley.
.
4. Get rid of all those extra buttons and useless crap in your toolbars.
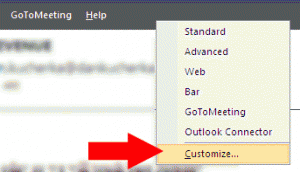
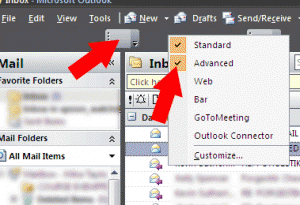
Right click somewhere in the upper toolbar section. You should see a list of all the bars you have open. Standard, Web, etc. You want to click ‘Customize’
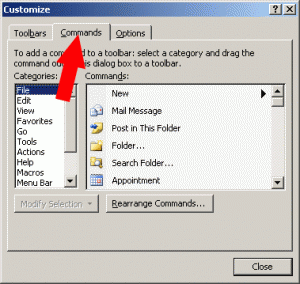
You will see a new menu here and you want to select the ‘Commands’ tab.
The trick here is to simply have the commands tab selected and while it is selected you can drag commands to and from the actual bars on upper part of Outlook. What I did was just leave the File, Edit, View menu there and then I dragged other menu buttons there that I needed.
You can drag items from the commands window that is open right onto the bars, or you can drag the items from bar to bar. Notice the black box around the item I am dragging in the screenshot below.
You can also right click and delete items you don’t want. I ended up with a few bars like the one on the left hand side (empty). But you can get rid of the empty bars by right clicking on the toolbar area and unchecking the Standard, Advanced bars, etc.
And here is a weird little trick that I stumbled upon. If you want to add a little line to the left to divide the different types of buttons you just need to have the commands tab open, click on one of the icons already on the toolbar and drag slightly to the right. It will put a small line on the left. It will only make a line on the left, not on the right side… keep that in mind, so you will need to use the icon to the right of the space you want to add the line to. Confusing? Try it out.
See the little lines between Tools and New for example.
Nice and clean 😉
5. Add back the Unread Folder to your favourites.
I don’t know how my unread folder disappeared, but I needed to add it back. This is actually fairly simple and you might have it despite being hidden.
Just click New >> Search Folder (or you can push CTRL + Shift + P) and then the first one in the list is unread mail. You will see a folder called ‘Search Folders’ which will always appear at the bottom of your current mailbox. Simply right click it and add to it to your favourites.
.
6. Stop Outlook from marking your mail as read before you have read it
I personally use unread mail as a follow up system. I use an iPhone now and I don’t have the same Exchange capabilities as I used to have with a BlackBerry. So unread messages is a good way to remind myself of things I need to do. Unfortunately, if you use an unread mail search folder, or you accidentally click on the email (or even load up a folder and the top item is unread) Outlook will mark it as read.
Well you have a couple of options. I personally disable Outlook from marking any of my mail as being read until I mark it as read. I find this is the best way to deal with a large volume of incoming mail. But you can also set the system to mark mail read after a number of seconds, giving you the ability to browse around and see the mail first, but have Outlook automatically do the marking.
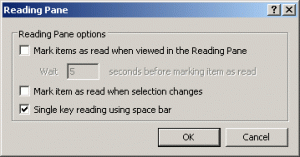
It is quite simply to do… Click Tools >> Options, click the ‘Other’ tab, then click the ‘Reading Pane’ options half way down.
You will see a menu box like this one. I chose to uncheck box so that email is only marked as read when I right click and mark it as being read. But you can check the ‘Mark items as read when viewed in the Reading Pane’ option and even set a time delay.
.
.
These are just a few of the ways to make Outlook 2007 cleaner and easier to use! If you have any comments please leave them or let me know if I should add any other tips or tricks. Thanks!





Great list! I’d like to add for #3, you can also group by conversation. This makes it so that if you have multiple emails (a conversation) with a client, they will be grouped together. Leaving the sort by on the default of ‘received’ allows the latest conversation to be listed at the top.
I use this a lot to keep track of my emails so I don’t need to keep finding old emails to know what was said previously!
For those that use GMail, it basically does what GMail does for all their emails, grouping them by conversations.